Spring Boot 整合 MyBatis
参考教程
使用原因
ORM 框架的本质是简化操作数据库的编码工作,常用的框架有两个,一个是可以灵活执行动态 SQL 的 MyBatis;一个是崇尚不用写 SQL 的 Hibernate。前者互联网行业用的多,后者传统行业用的多。
Hibernate 的特点是所有的 SQL 通过 Java 代码生成,发展到最顶端的就是 Spring Data JPA,基本上根据方法名就可以生成对应的 SQL 了。
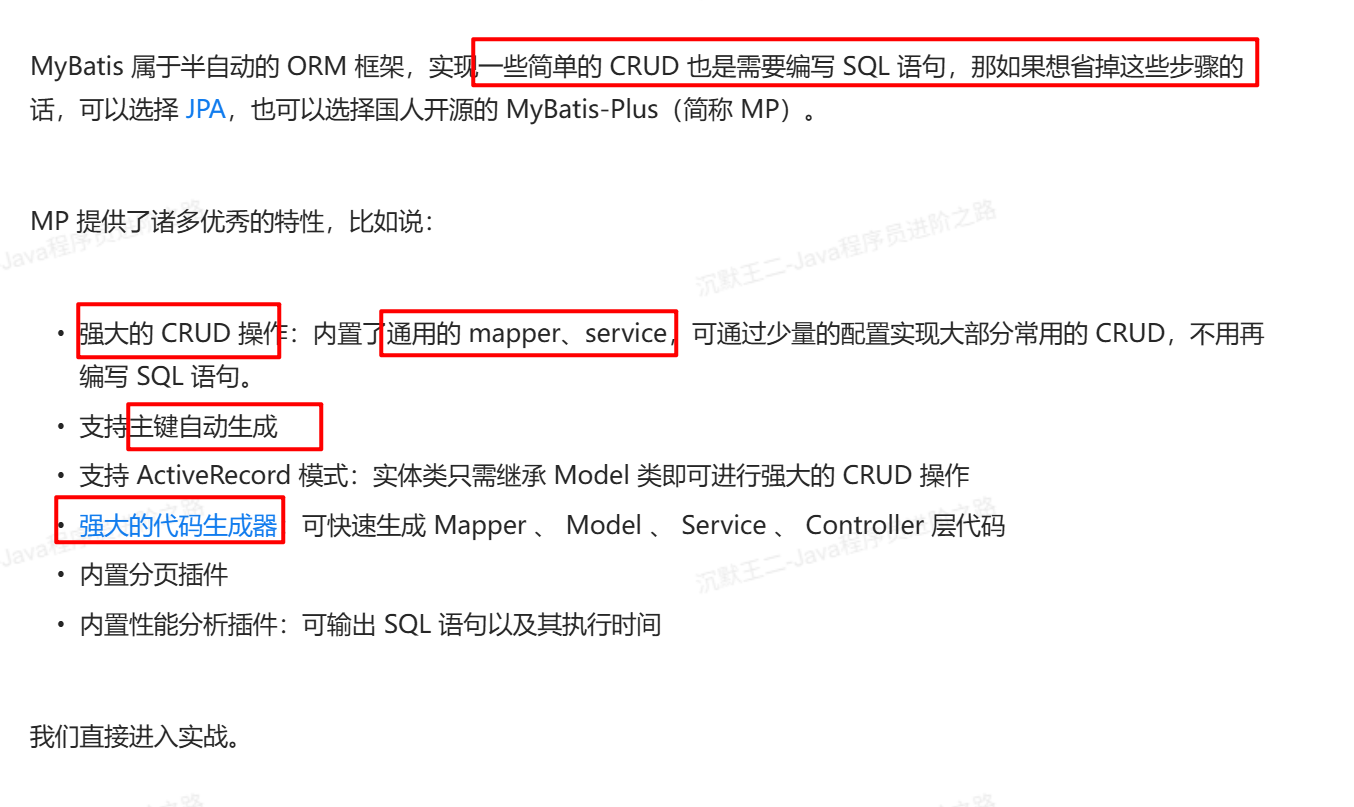
MyBatis 早些时候用起来比较繁琐,需要各种配置文件,需要实体类和 DAO 的映射关联,经过不断地演化和改进,可以通过 generator 自动生成实体类、配置文件和 DAO 层代码,简化了不少开发工作。随着 MyBatis-Plus 的出现,又进一步加速了 MyBatis 的发展。经过 MyBatis-Plus 的增强,开发者只需要简单的配置,就可以快速进行单表的 CRUD 操作;同时,MyBatis-Plus又提供了代码生成、自动分页、逻辑删除、自动填充等丰富功能,进一步简化了开发工作。
整合 Mybatis
1. 引入依赖
<dependency>
    <groupId>org.mybatis.spring.boot</groupId>
    <artifactId>mybatis-spring-boot-starter</artifactId>
    <version>2.2.2</version>
</dependency>2. 配置信息
spring:
  datasource:
    driver-class-name: com.mysql.cj.jdbc.Driver
    username: root
    password: Huicheng123**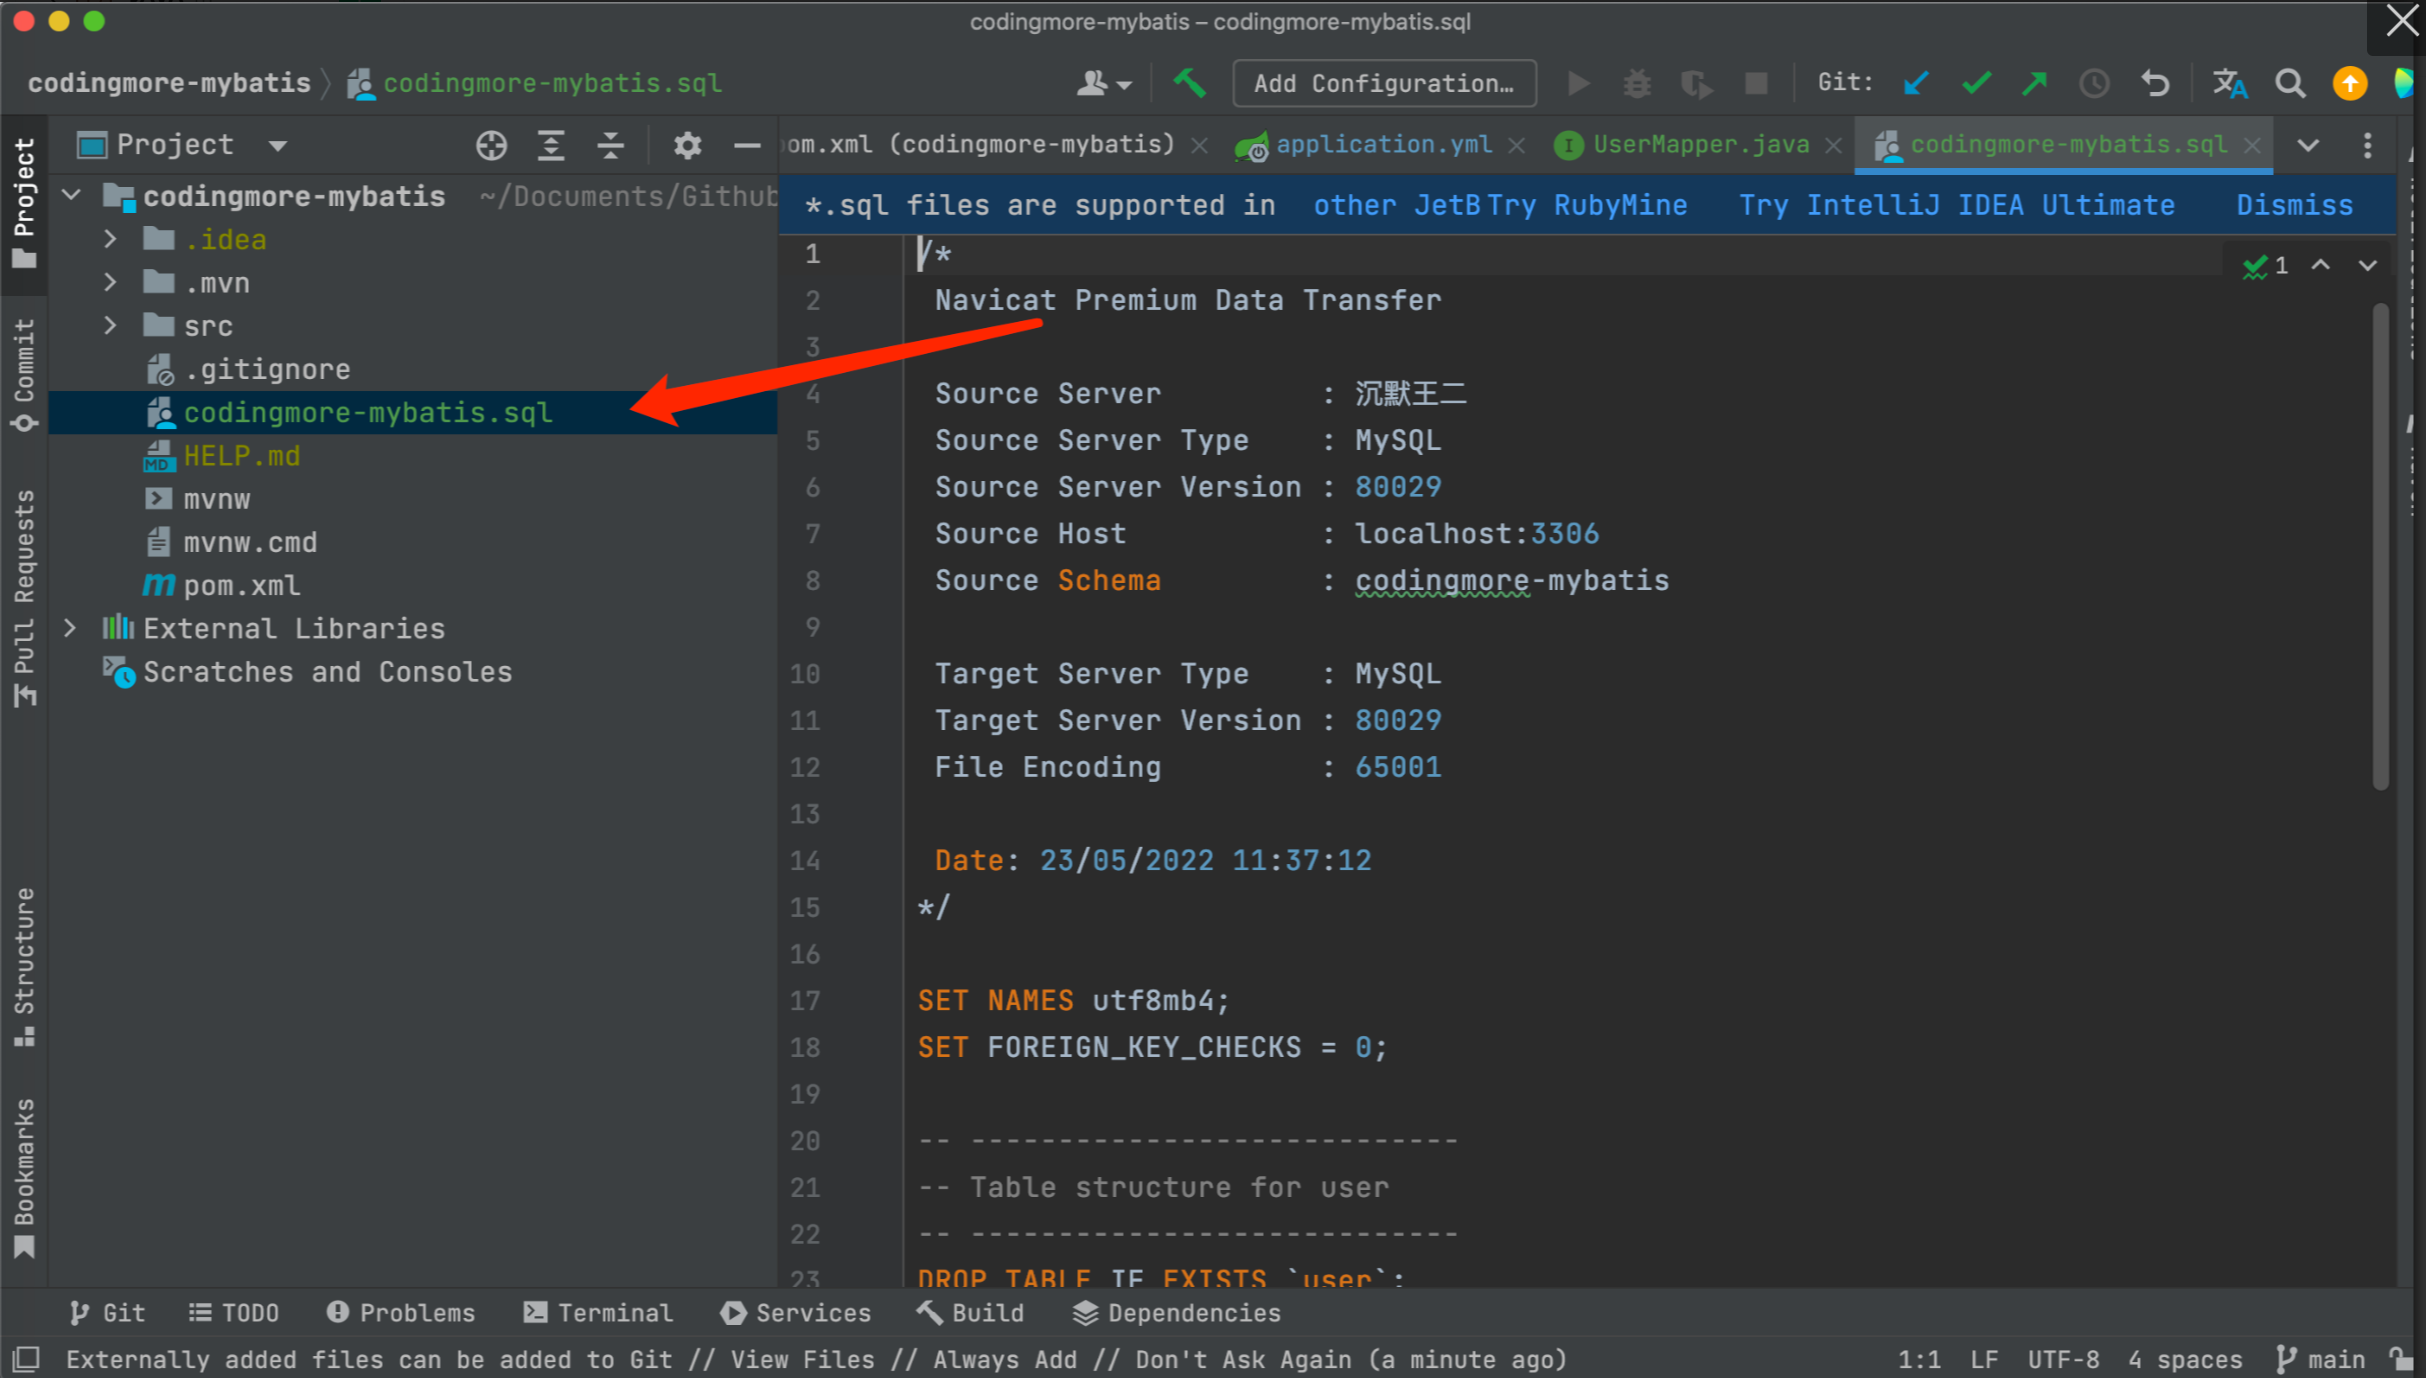
url: jdbc:mysql://localhost:3306/codingmore-mybatis?useUnicode=true&characterEncoding=utf-8&serverTimezone=Asia/Shanghai&useSSL=false3. 引入 SQL 文件
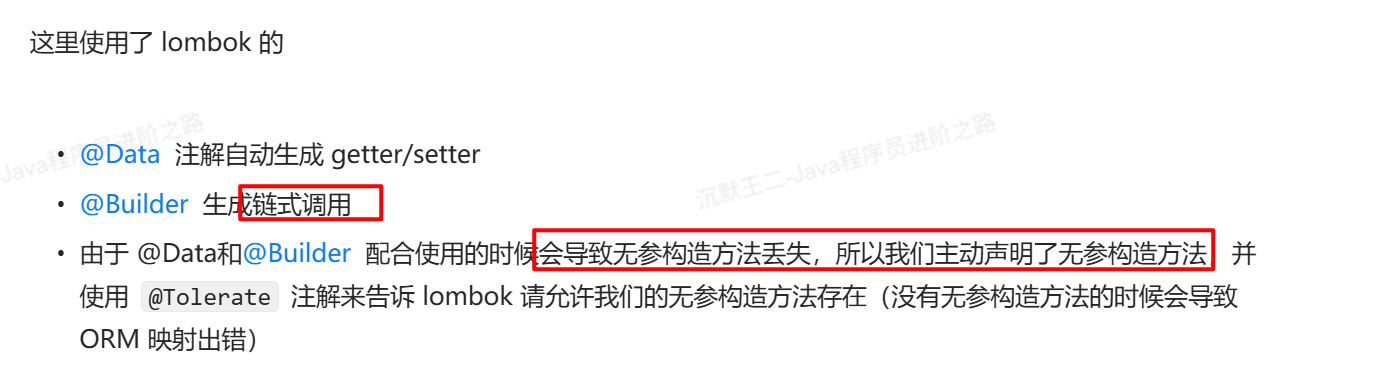
4. 新建实体类
@Data
@Builder
public class User {
    private Integer id;
    private Integer age;
    private String name;
    private String password;

    @Tolerate
    User() {}
}
5. Mapper 接口
public interface UserMapper {
    @Select("SELECT * FROM user")
    List<User> getAll();

    @Select("SELECT * FROM user WHERE id = #{id}")
    User getOne(Integer id);

    @Insert("INSERT INTO user(name,password,age) VALUES(#{name}, #{password}, #{age})")
    void insert(User user);

    @Update("UPDATE user SET name=#{name},password=#{password},age=#{age} WHERE id =#{id}")
    void update(User user);

    @Delete("DELETE FROM user WHERE id =#{id}")
    void delete(Integer id);
}6. 启动类扫描
@SpringBootApplication
@MapperScan
public class CodingmoreMybatisApplication {

	public static void main(String[] args) {
		SpringApplication.run(CodingmoreMybatisApplication.class, args);
	}

}上面是使用注解,下面我们通过 xml 的方式来实现
极简 xml
极简 xml 版本比较适合更加复杂的 SQL,接口层只定义空的方法,然后在 xml 中编写对应的 SQL。编程喵🐱实战项目中使用的就是这种方式。
1. Mapper 接口
public interface PostMapper {
    List<Posts> getAll();
    Posts getOne(Long id);
    void insert(Posts post);
    void update(Posts post);
    void delete(Long id);
}2. 对应 xml
<?xml version="1.0" encoding="UTF-8"?>
<!DOCTYPE mapper PUBLIC "-//mybatis.org//DTD Mapper 3.0//EN" "http://mybatis.org/dtd/mybatis-3-mapper.dtd">
<mapper namespace="top.codingmore.mapper.PostMapper">
    <resultMap id="BaseResultMap" type="top.codingmore.entity.Posts">
        <id column="posts_id" property="postsId"/>
        <result column="post_author" property="postAuthor"/>
        <result column="post_content" property="postContent"/>
        <result column="post_title" property="postTitle"/>
    </resultMap>

    <sql id="Base_Column_List">
        posts_id, post_author, post_content, post_title
    </sql>

    <select id="getAll" resultMap="BaseResultMap">
        select
        <include refid="Base_Column_List" />
        from posts;
    </select>

    <select id="getOne" parameterType="java.lang.Long" resultMap="BaseResultMap" >
        SELECT
        <include refid="Base_Column_List" />
        FROM users
        WHERE id = #{id}
    </select>

    <insert id="insert" parameterType="top.codingmore.entity.Posts">
        insert into
            posts
            (post_author,post_content,post_title)
        values
            (#{postAuthor},#{postContent},#{postTitle});
    </insert>
    <update id="update" parameterType="top.codingmore.entity.Posts">
        update
            posts
        set
        <if test="postAuthor != null">post_author=#{postAuthor},</if>
        <if test="postContent != null">post_content=#{postContent},</if>
        post_title=#{postTitle}
        where id=#{id}
    </update>
    <delete id="delete">
        delete from
            posts
        where
            id=#{id}
    </delete>
</mapper>3. xml 的两种放置方式
第一种直接放在 resources 目录下,就不用担心打包时被忽略了,但放在 resources 目录下不会被 MyBatis 自动扫描到,所以需要在 application.yml 配置文件中告诉 MyBatis 具体的扫描路径:
mybatis:
mapper-locations: classpath:mapper/*.xml第二种方式也可以看文件放在和 PostMapper.java 接口同级的目录下,但是这样会带来一个问题,就是 Maven 打包的时候默认会忽略 xml 文件,所以为了避免这种情况发生,我们需要在 pom.xml 文件中添加配置:
<build>
  <resources>
    <resource>
      <directory>src/main/java</directory>
      <includes>
        <include>**/*.xml</include>
      </includes>
    </resource>
    <resource>
      <directory>src/main/resources</directory>
    </resource>
  </resources>
</build>可以看得出,注解版比较适合简单的 SQL 语句,一旦遇到比较复杂的 SQL 查询,比如说多表查询,xml 中写 SQL 语句会容易实现。
比如说编程喵🐱实战项目中有一个分页查询(首页展示,需要查询标签、作者名、文章信息等等),涉及到多张表,那么此时,xml 版本就更适合。
<select id="findByPageWithTagPaged" resultMap="PostsVoResultMapWithTagList">
    SELECT a.*, pt.description, ptr.post_tag_id
    FROM (
             SELECT
                <include refid="Base_Column_List_No_Content" />,
                 b.term_taxonomy_id,
                 c.user_nicename
             FROM
                 posts a
                     LEFT JOIN term_relationships b ON a.posts_id = b.term_relationships_id
                     LEFT JOIN users c ON a.post_author = c.users_id
             WHERE 1=1
             <if test="searchTagId != null">
                and a.posts_id in (select post_id from post_tag_relation where post_tag_id=#{searchTagId})
             </if>
             and ${ew.sqlSegment}
                 LIMIT #{pageStart}, #{pageSize}
         ) a
             LEFT JOIN post_tag_relation ptr on a.posts_id = ptr.post_id
             LEFT JOIN post_tag pt on pt.post_tag_id = ptr.post_tag_id
</select>Mybatis-Plus 增强
1. 引入依赖
<dependency>
    <groupId>com.baomidou</groupId>
    <artifactId>mybatis-plus-boot-starter</artifactId>
    <version>3.4.2</version>
</dependency>2. 实体类
@Data
public class PostTag {
    private Long postTagId;
    private String description;
}可以看得出,类名 PostTag,字段名 postTagId 和数据库表 post_tag、字段名 post_tag_id 并不一致,但 mp 自动帮我们做了映射关联。
3. Mapper 接口
新建 PostTagMapper 继承 BaseMapper,继承该接口后,无需编写 mapper.xml 文件,即可获得CRUD功能。
public interface PostTagMapper extends BaseMapper<PostTag> {}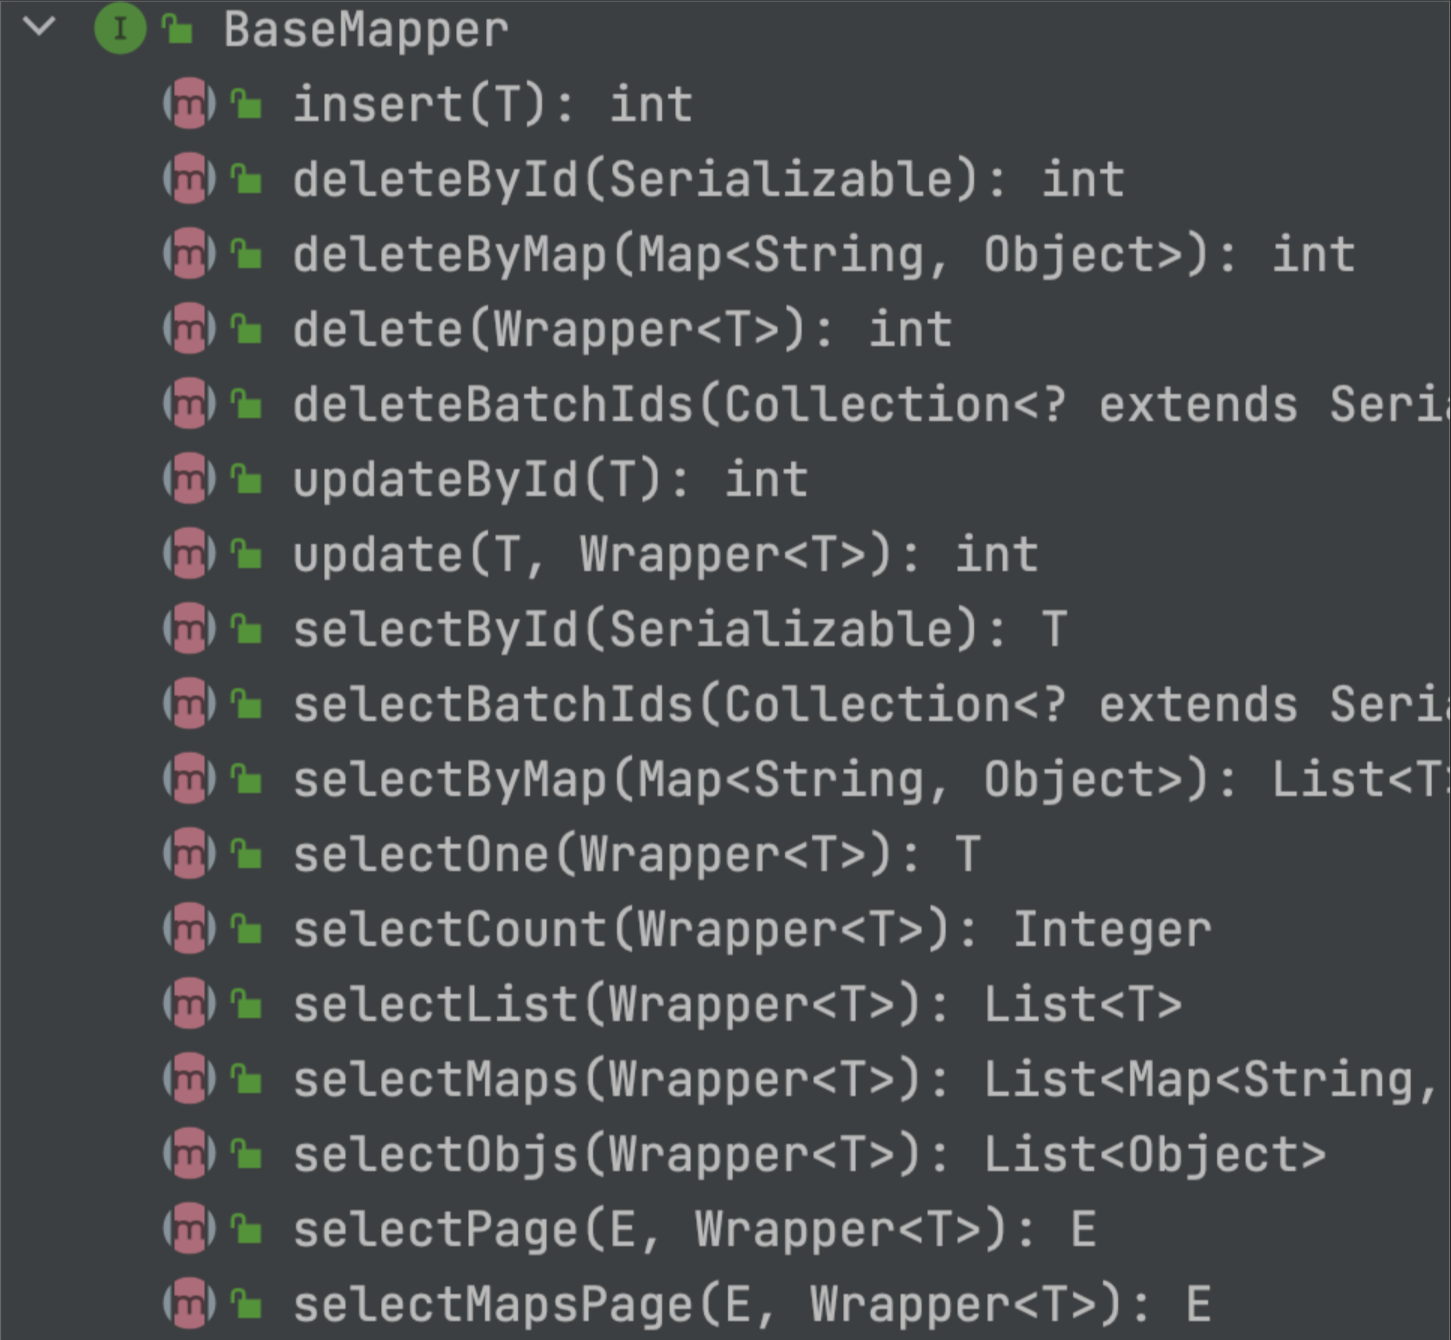
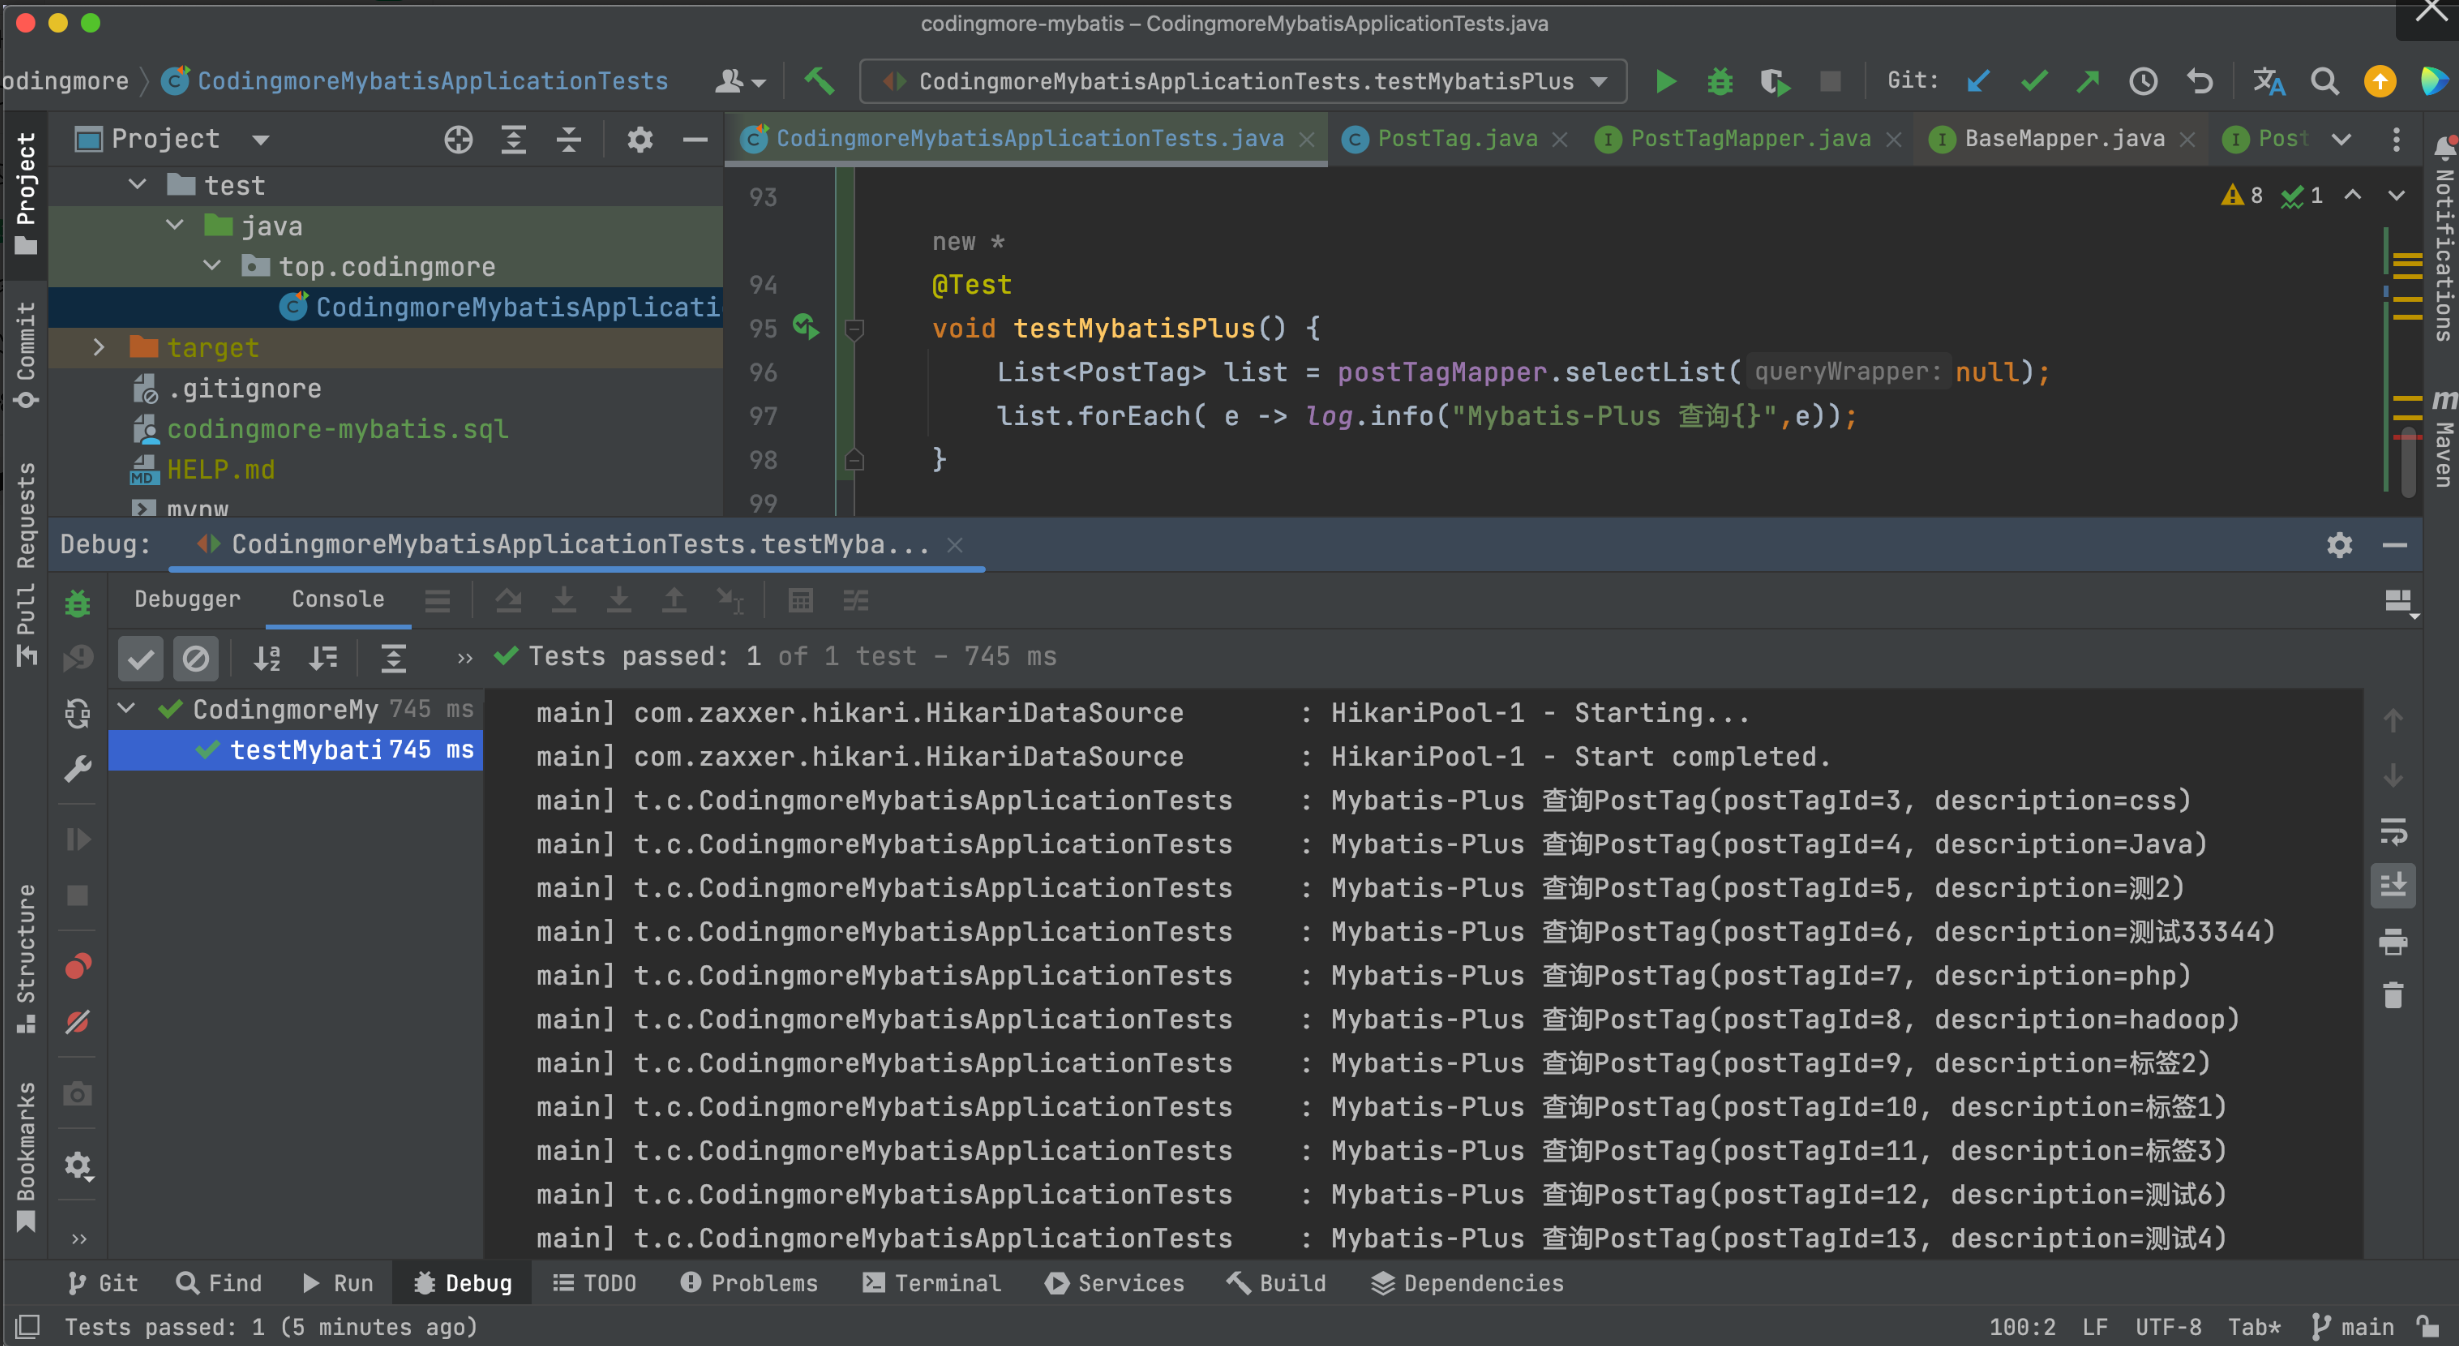
4. 测试
@Test
void testMybatisPlus() {
    List<PostTag> list = postTagMapper.selectList(null);
    list.forEach( e -> log.info("Mybatis-Plus 查询{}",e));
}selectList() 方法的参数为 MP 内置的条件封装器 Wrapper,不填写就是无任何条件,查询全部。来看一下查询结果: